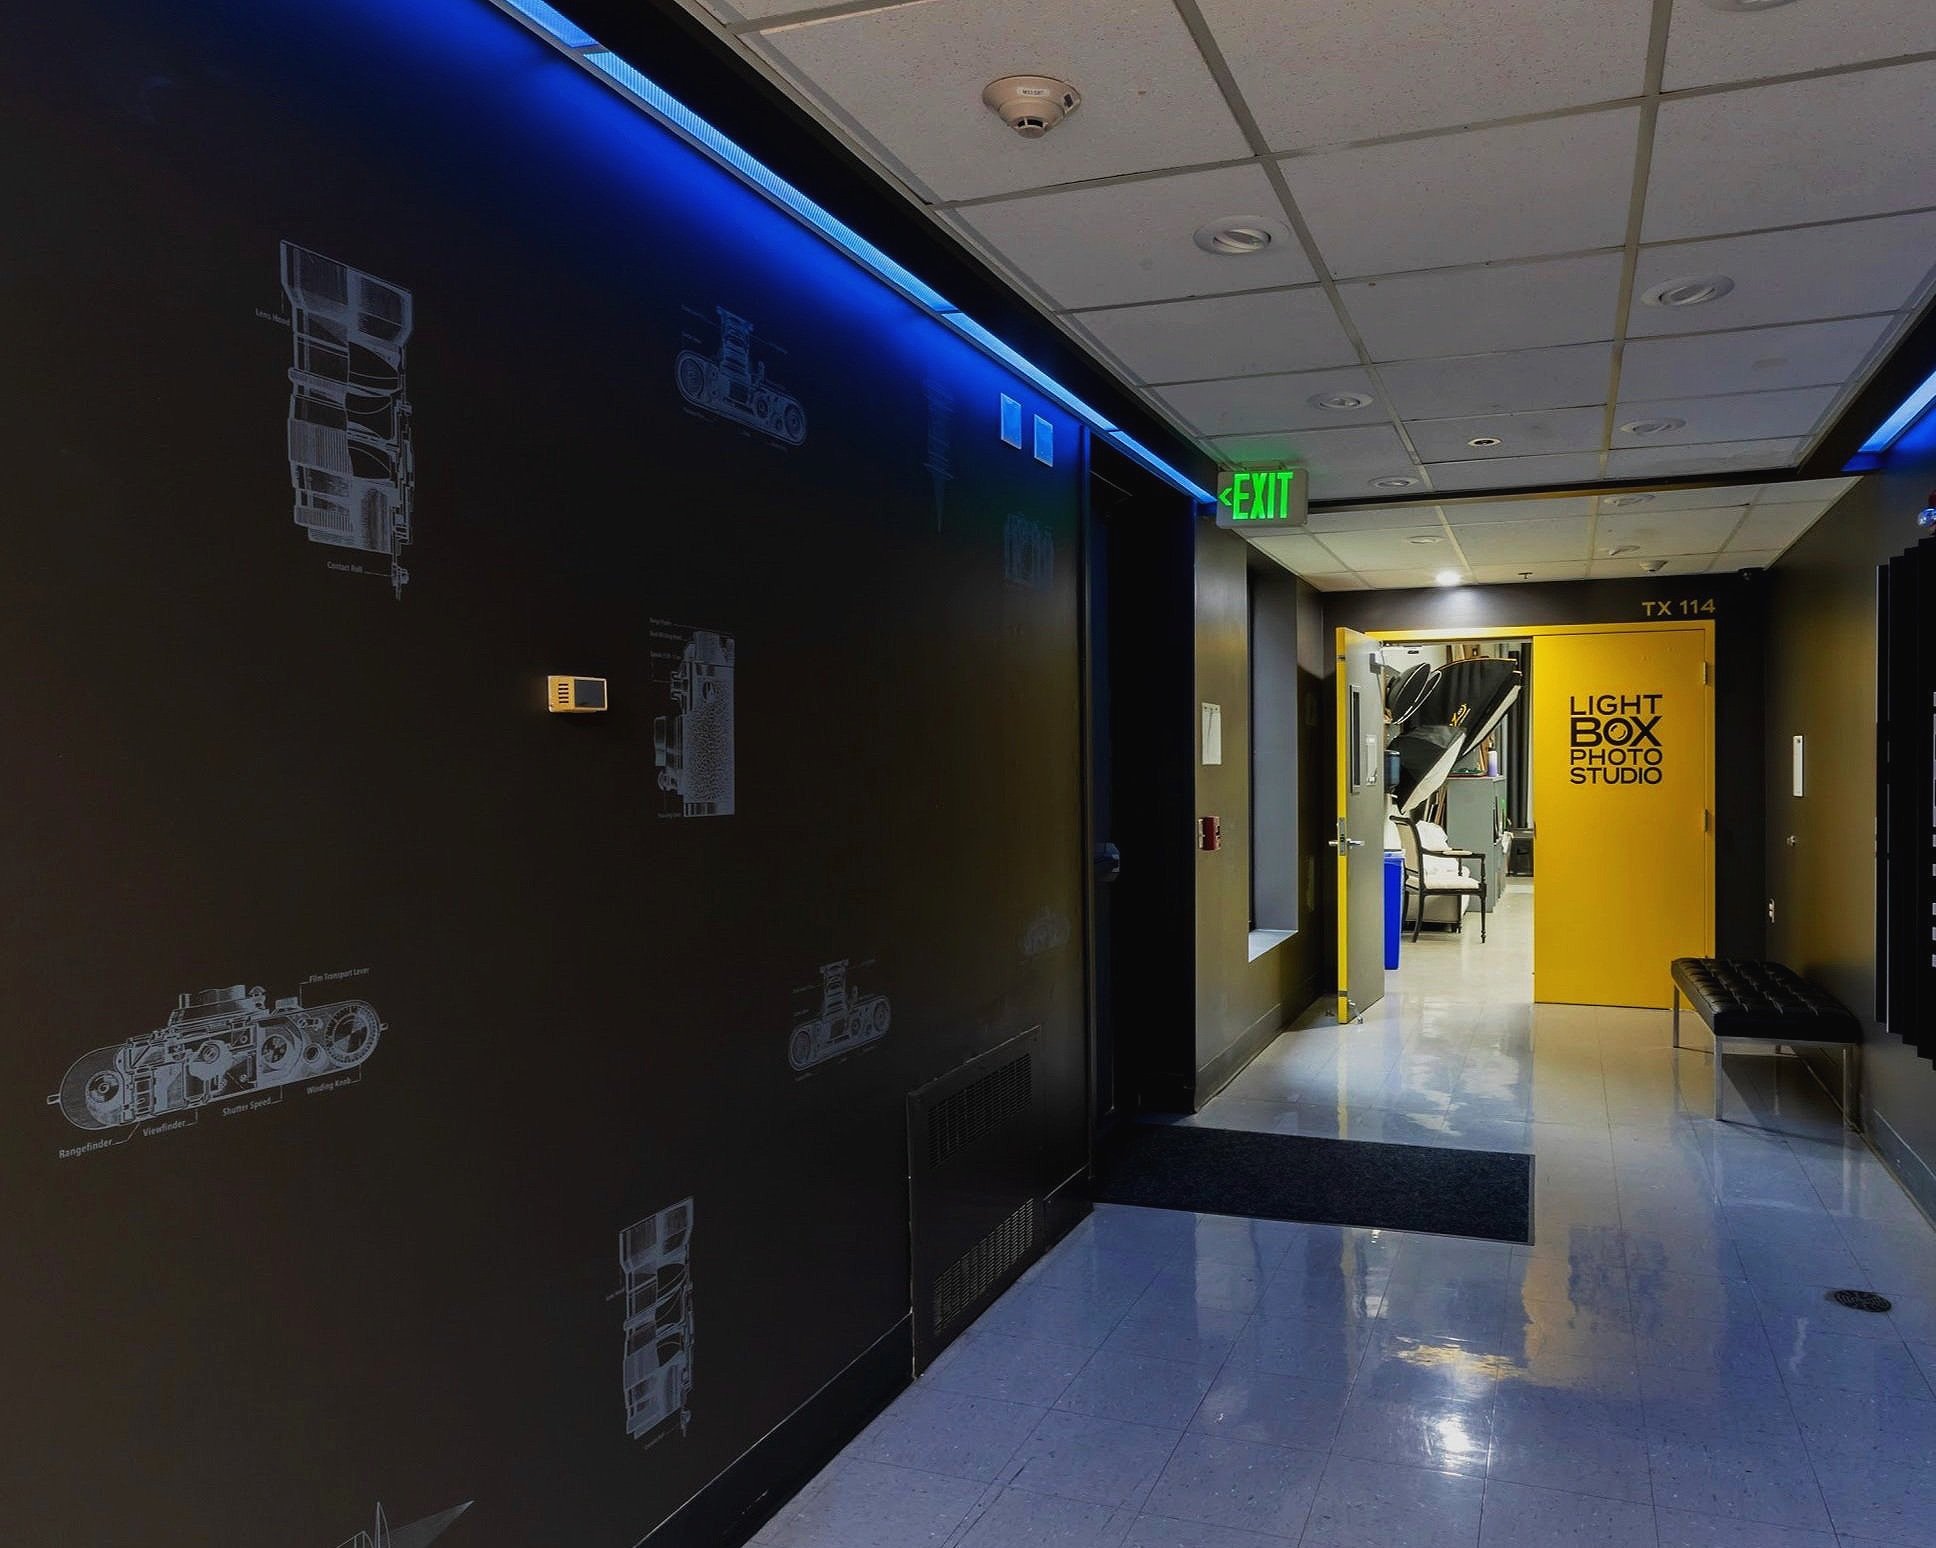
Light Box Photo Studio
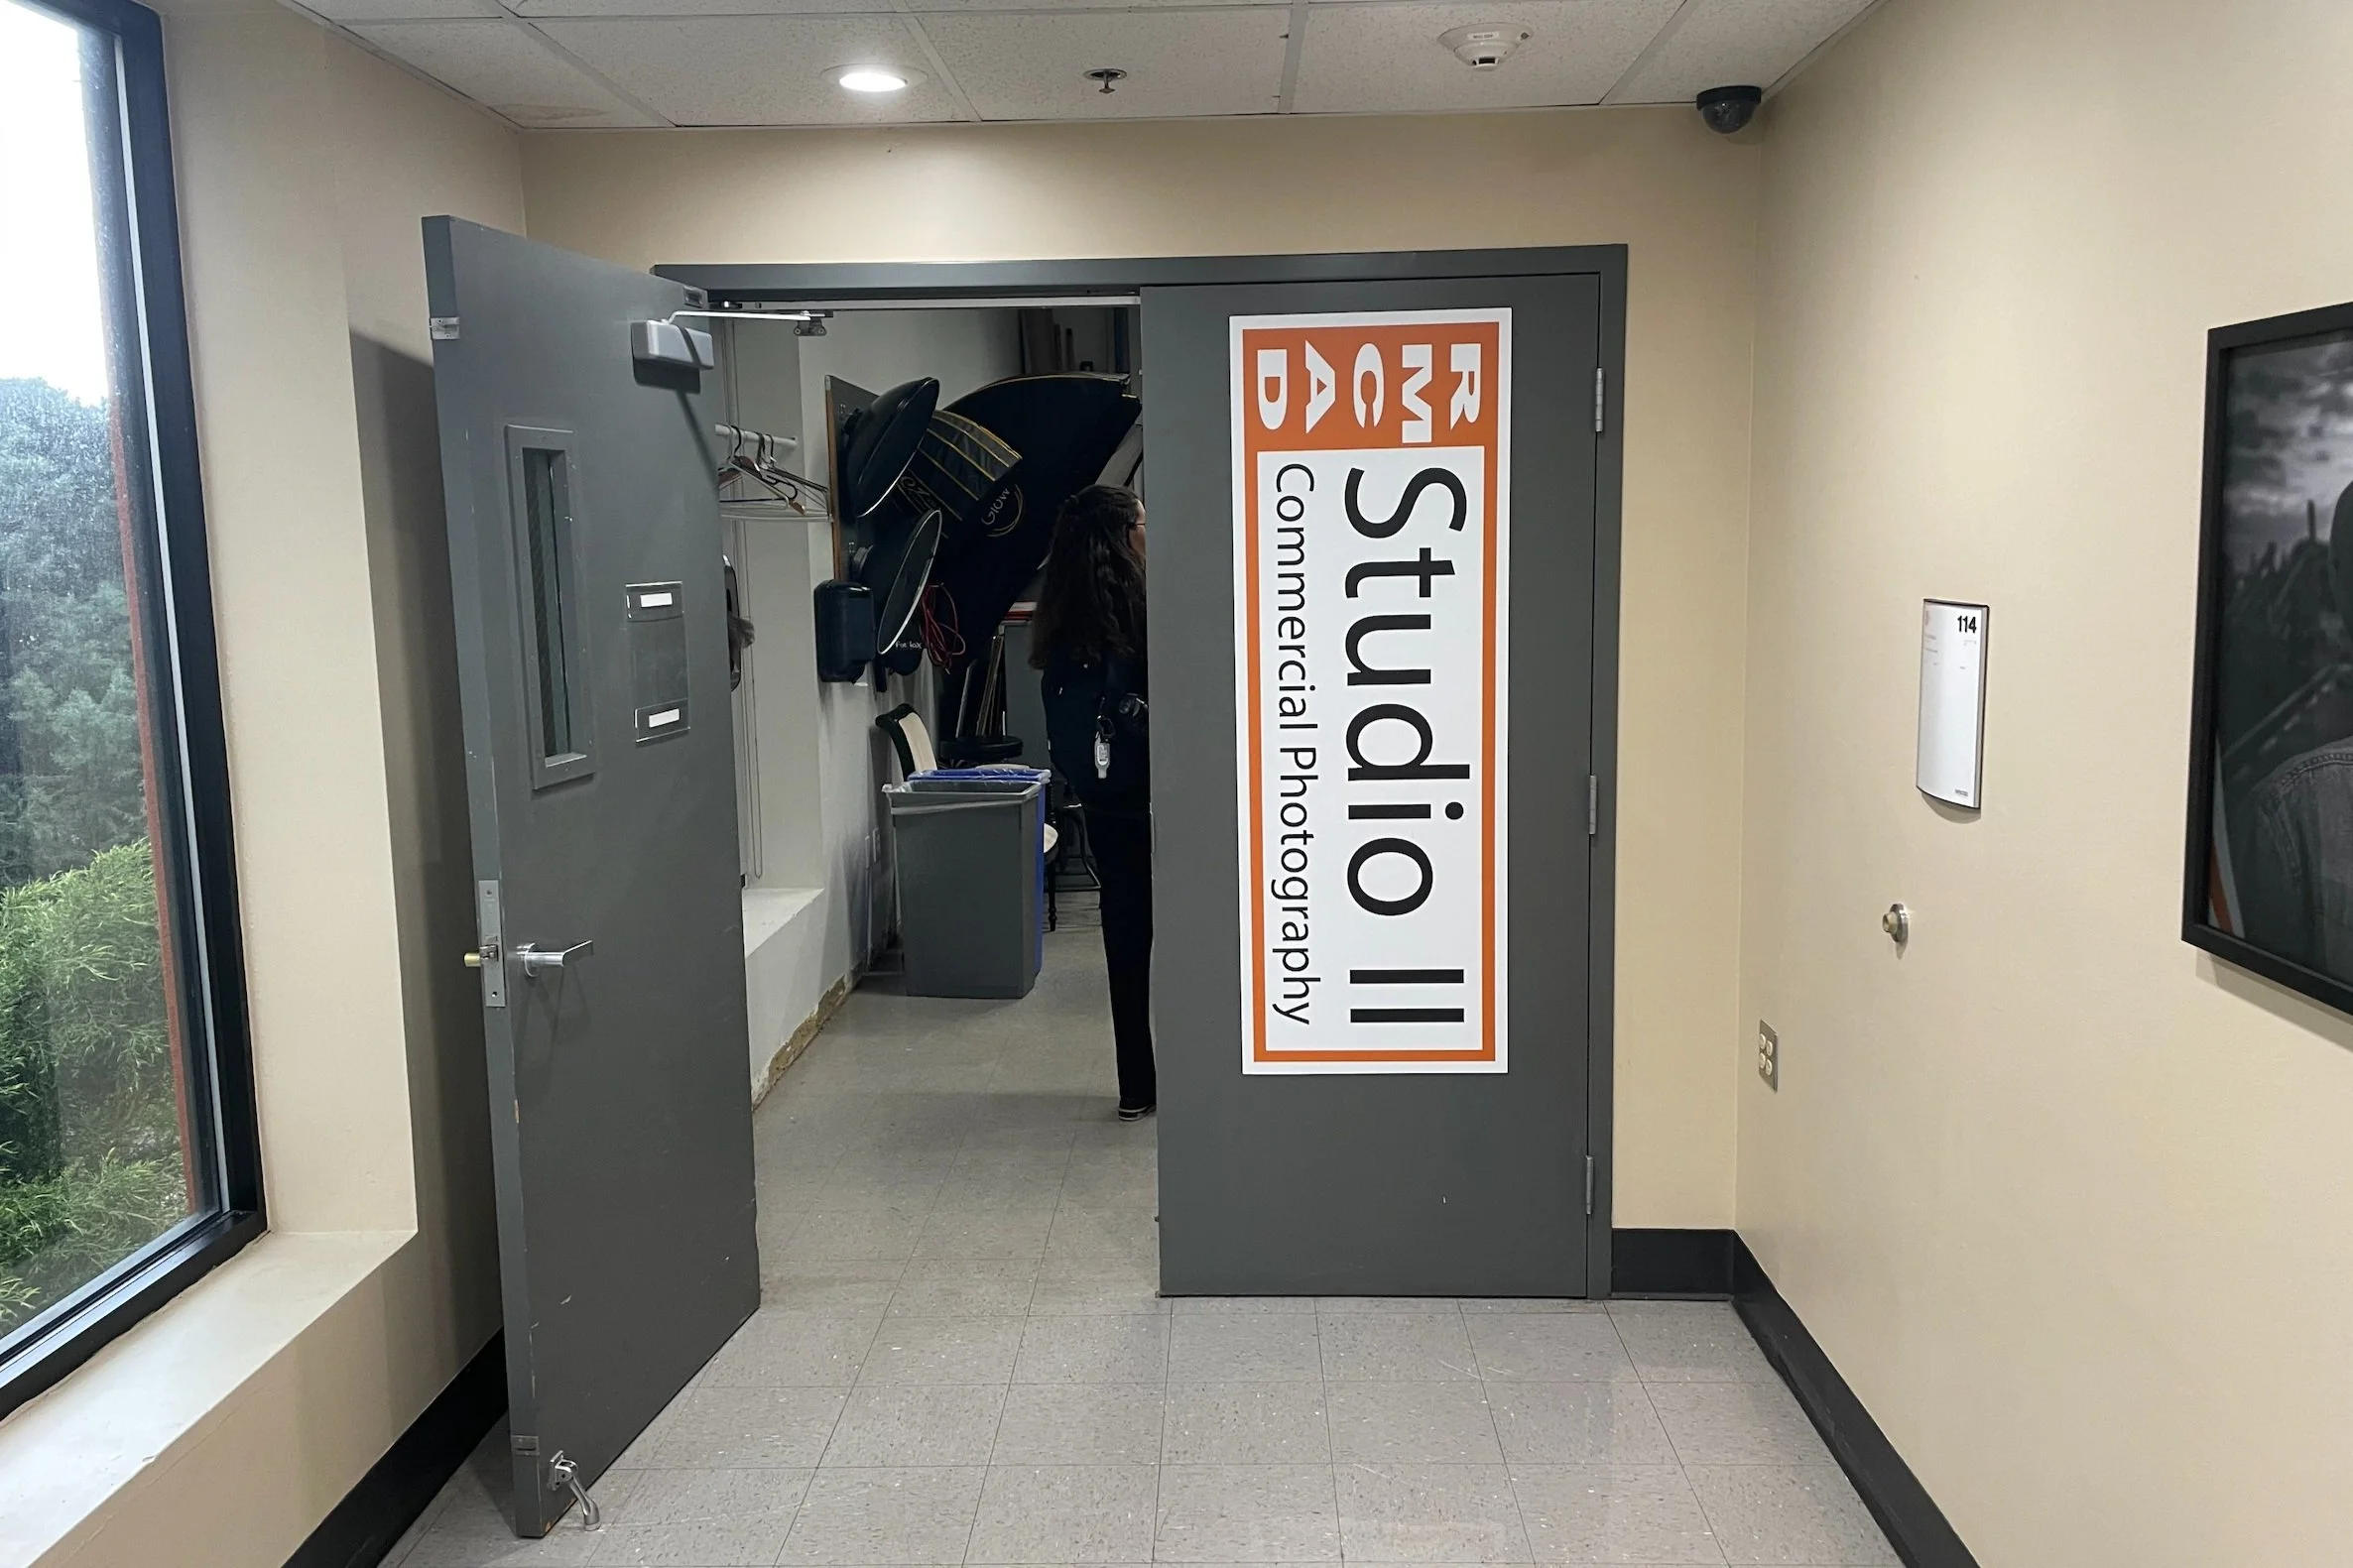
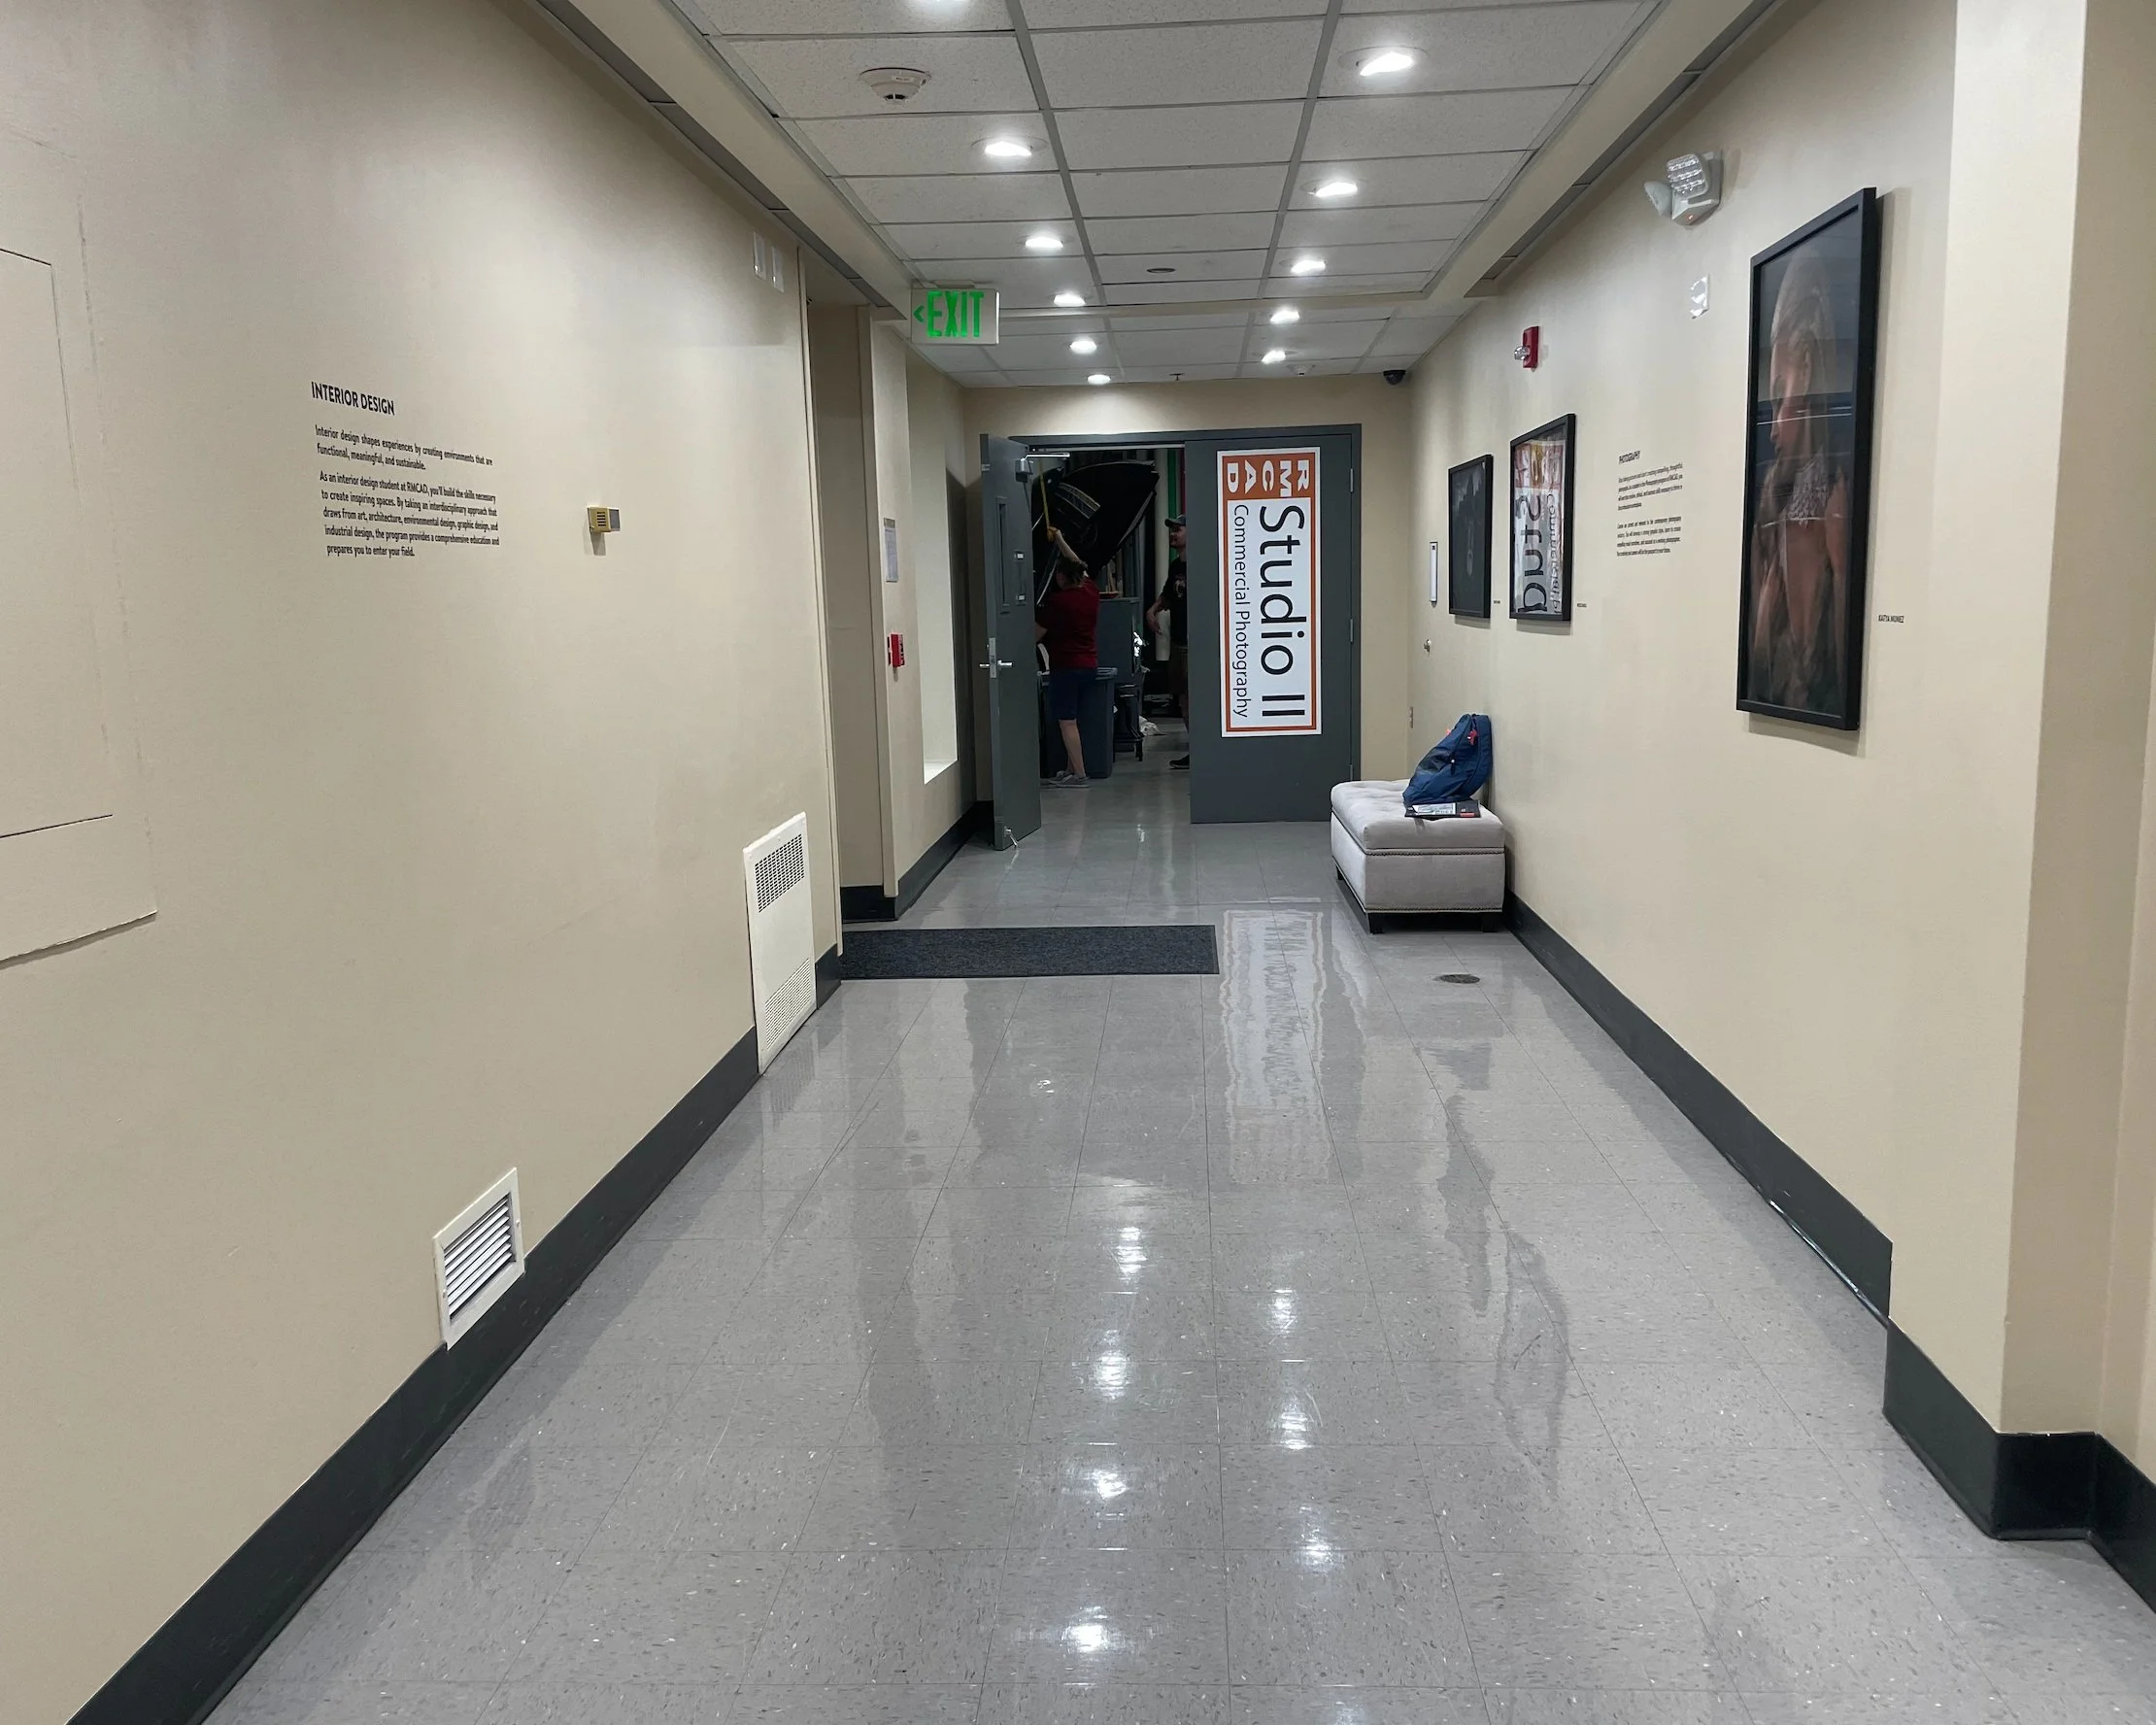
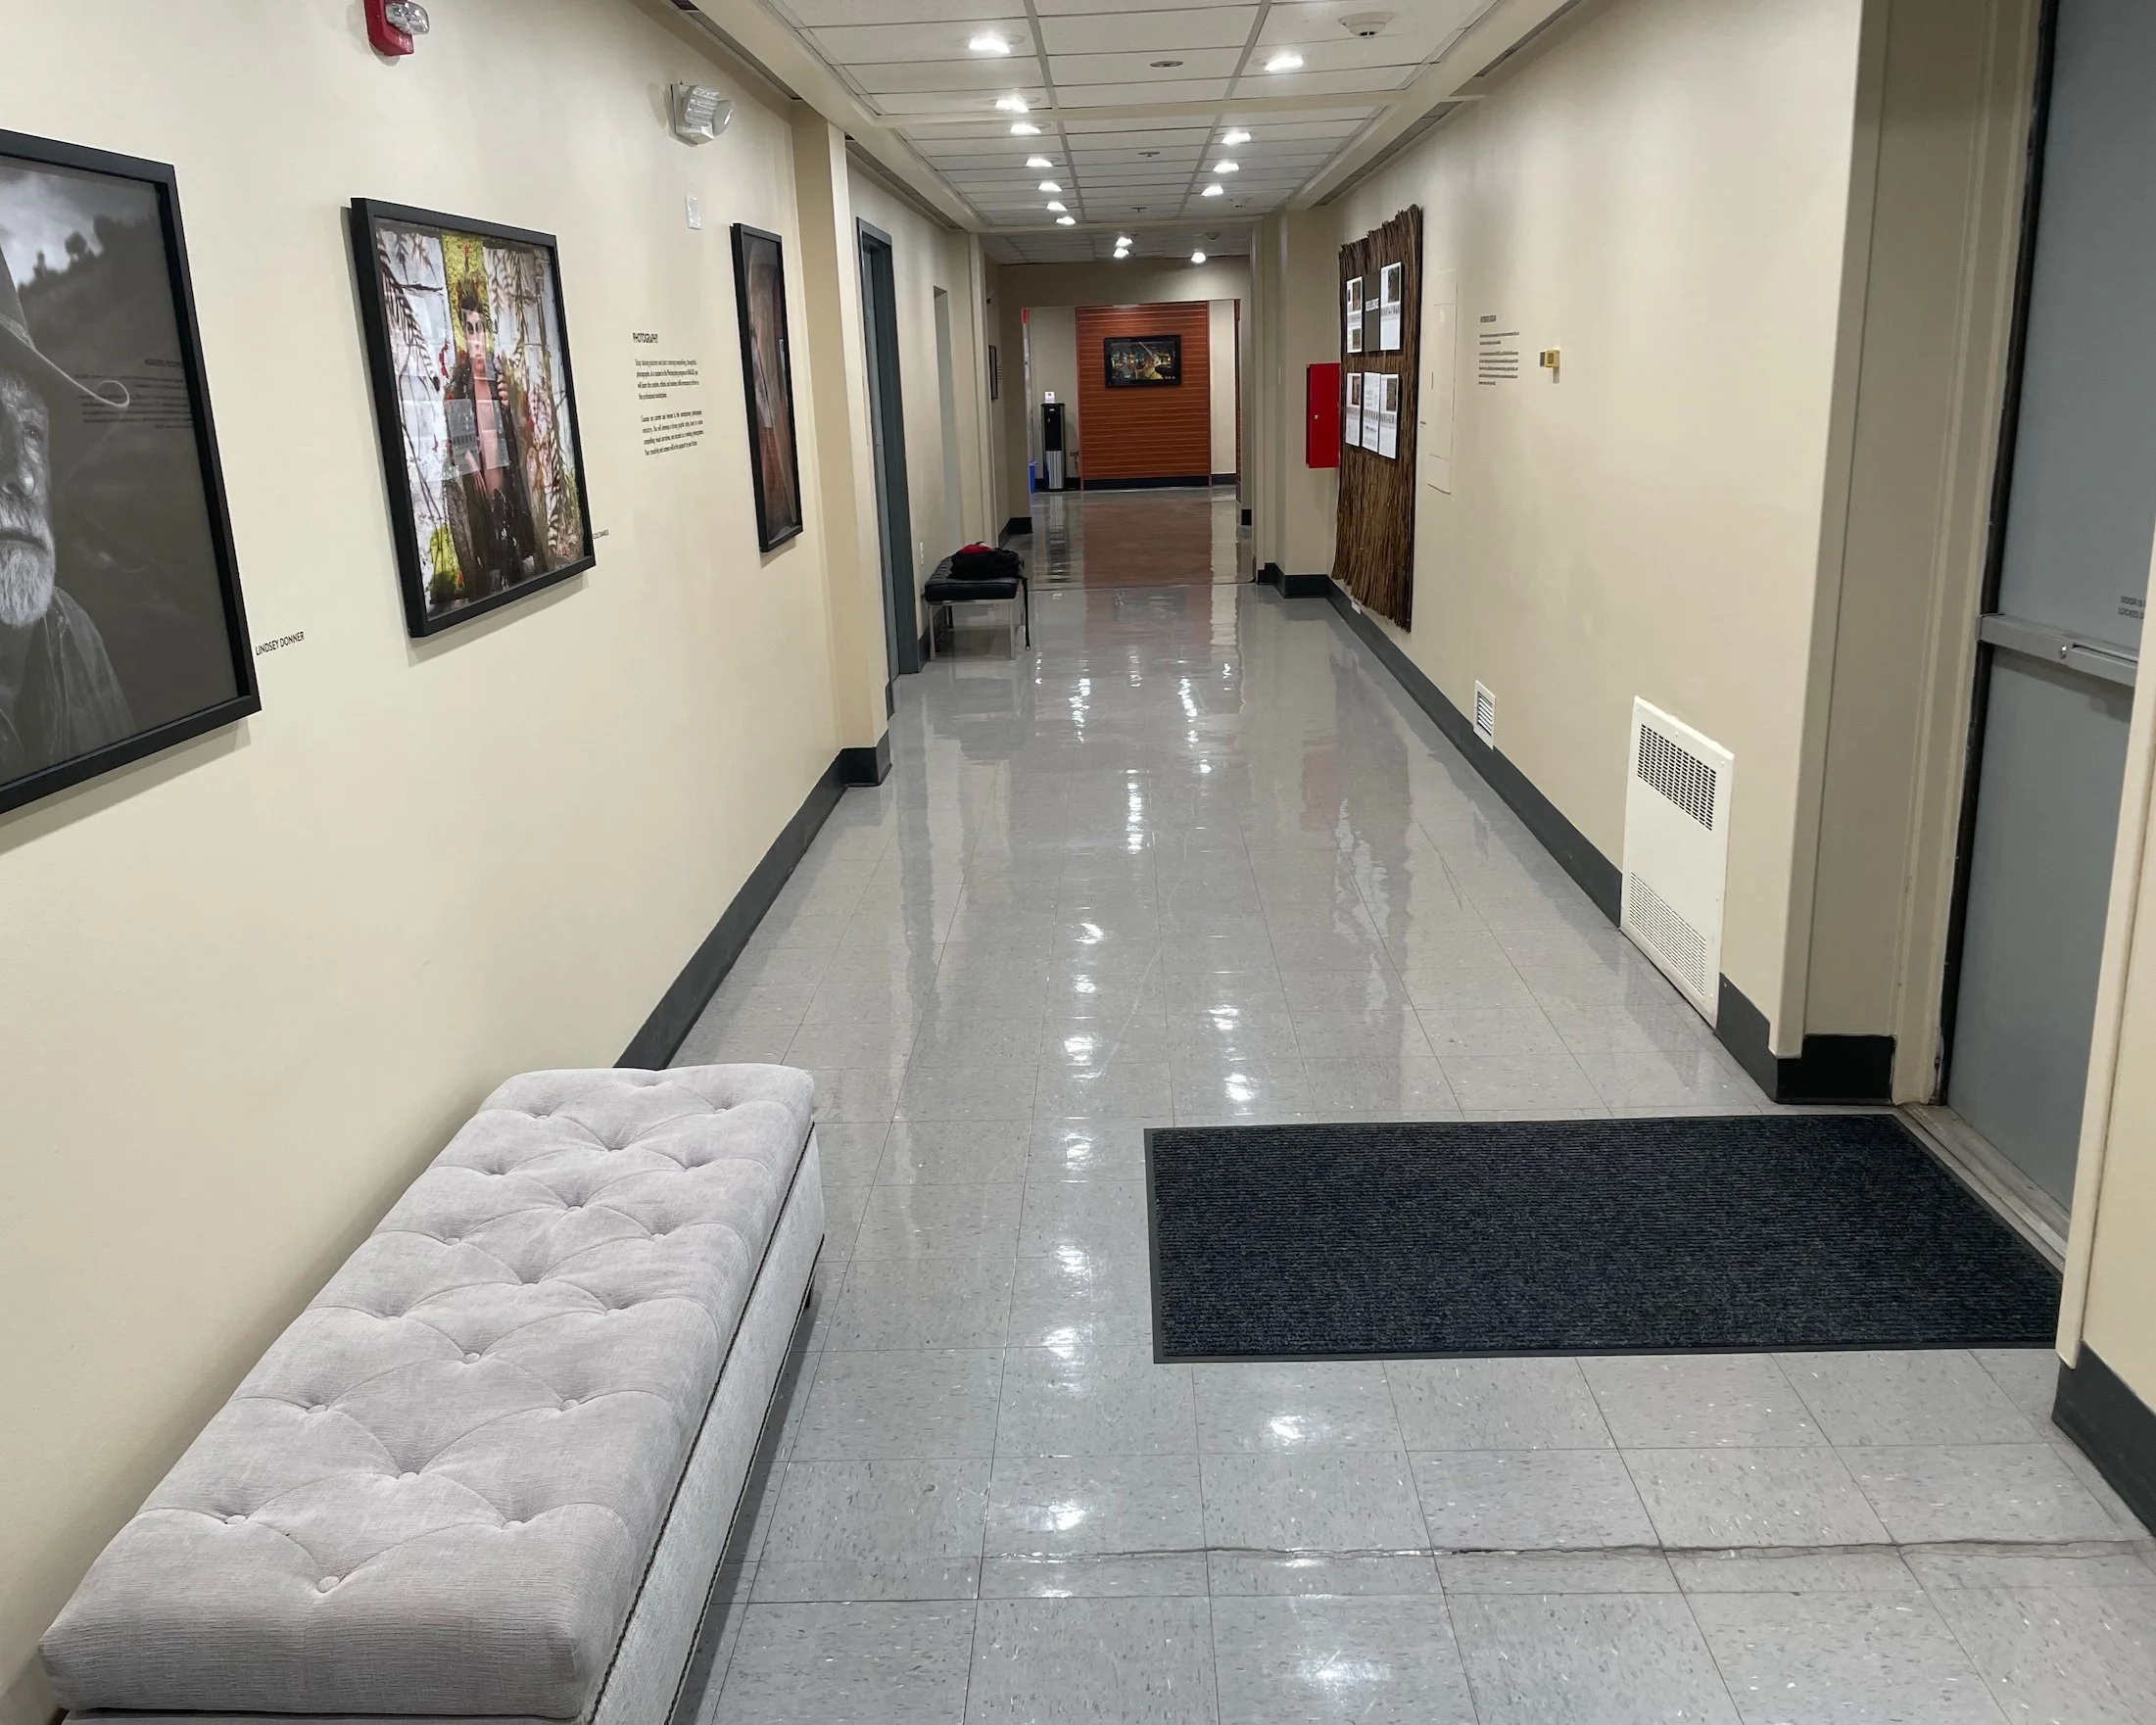
For this project our design team was tasked with using our experiential design skills to create a compelling and dynamic hallway design that highlights the photography program and encourages viewers to explore the space.
Process
-
The starting point for the design process was to understand the space and get an idea of how it is used. Conducting interviews with the faculty and students gave our design team insight into how the space could be improved and the limitations we would face while developing this public environment.
-
After framing our challenge, we intend for the ultimate impact to establish regular use of the hallway for photography students and the RMCAD community as a whole. Our team developed mood boards and mind maps to help generate ideas to present to our client.
-
In order to make the studio more attractive to the RMCAD community we began developing a brand identity that was both professional and imaginative, transforming the identity of the studio into something that encourages creativity.
-
After we generated a mock-up that our clients were excited about, we began contacting vendors in order to materialize our idea in the most cost-effective way.
-
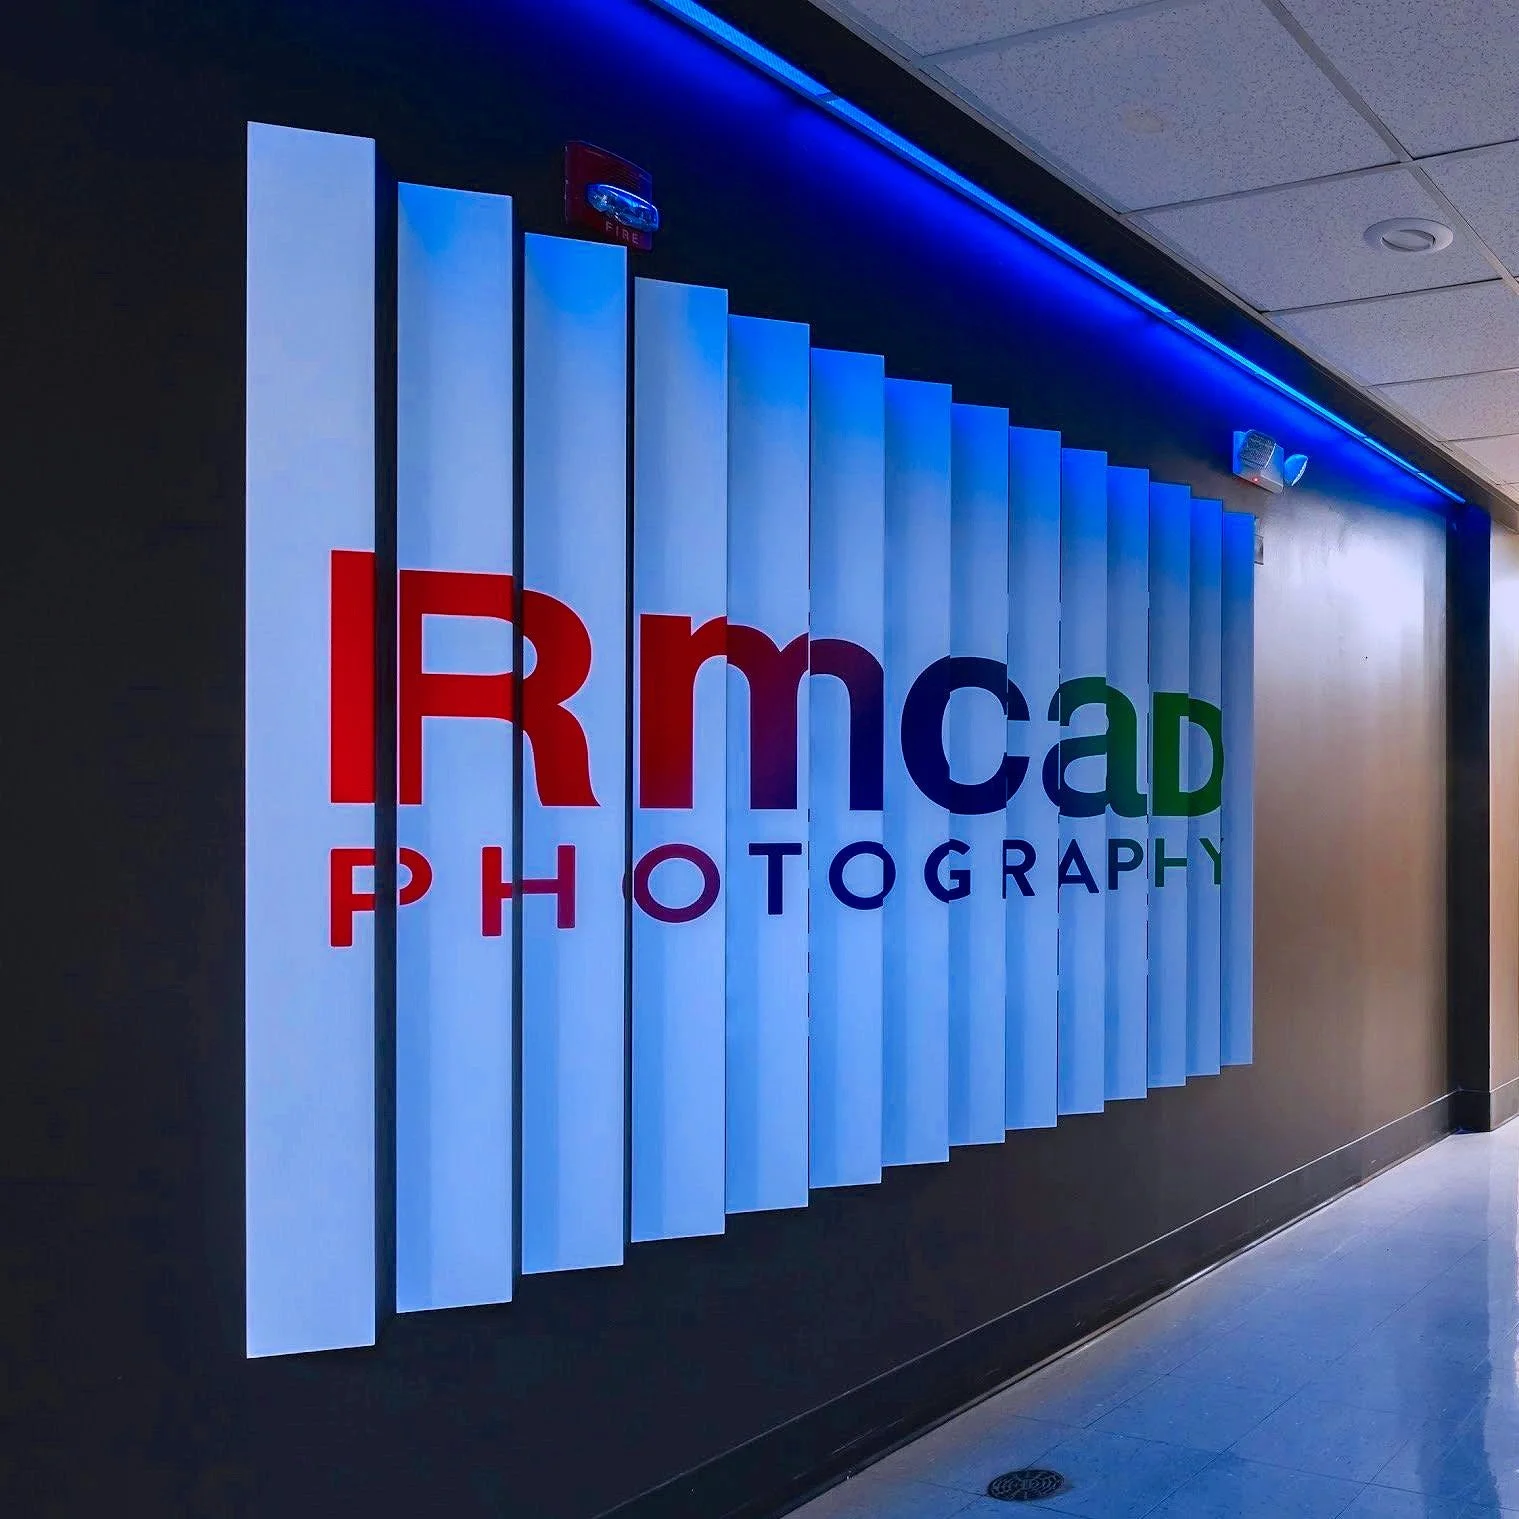
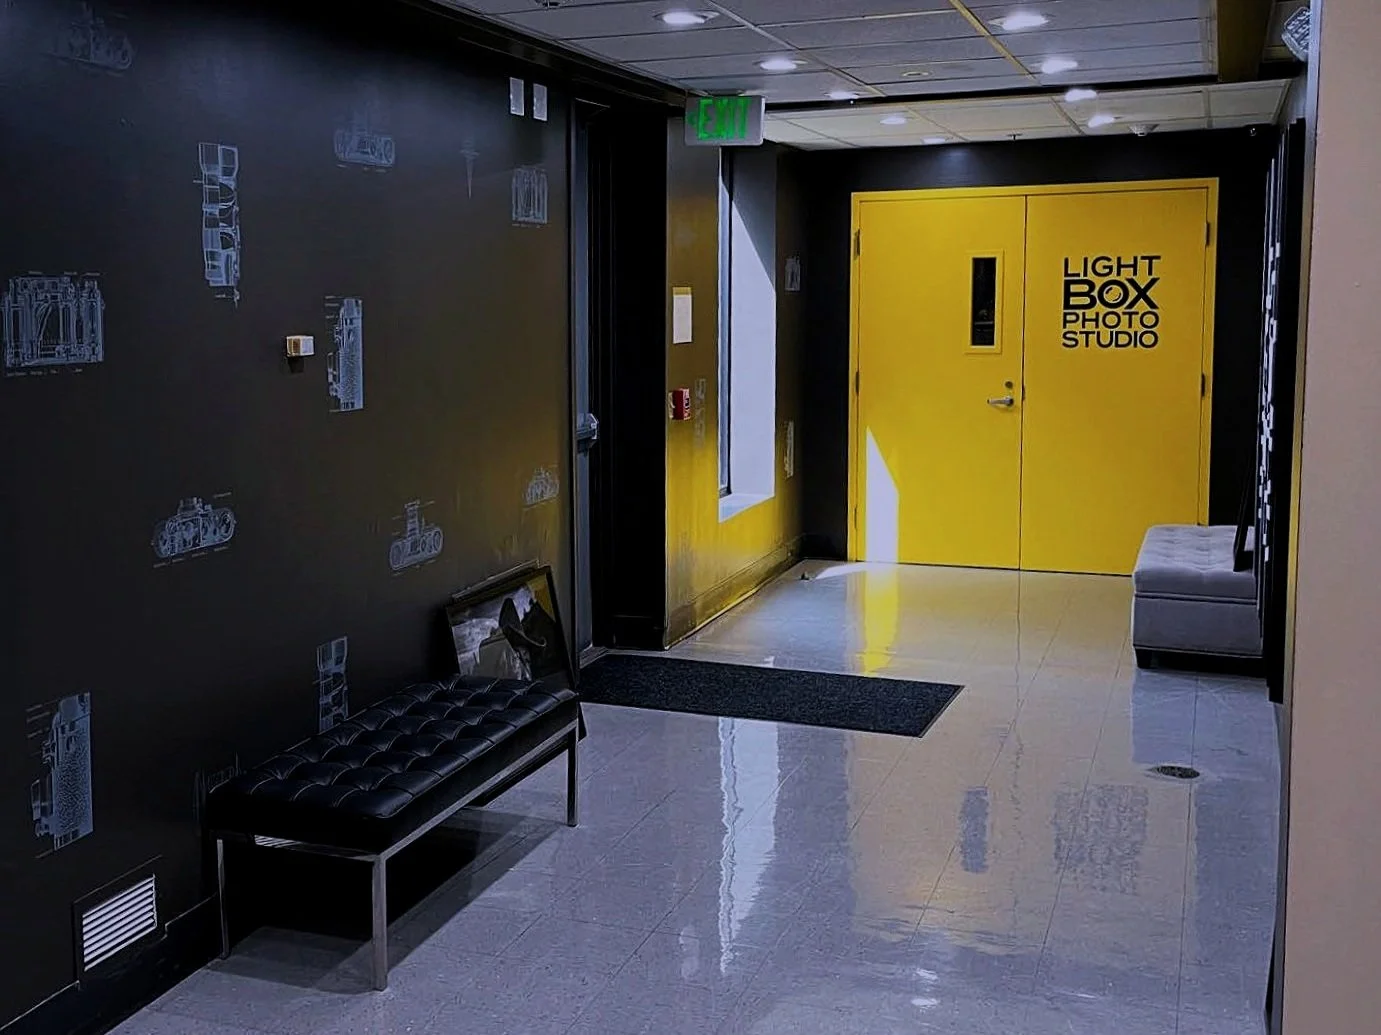
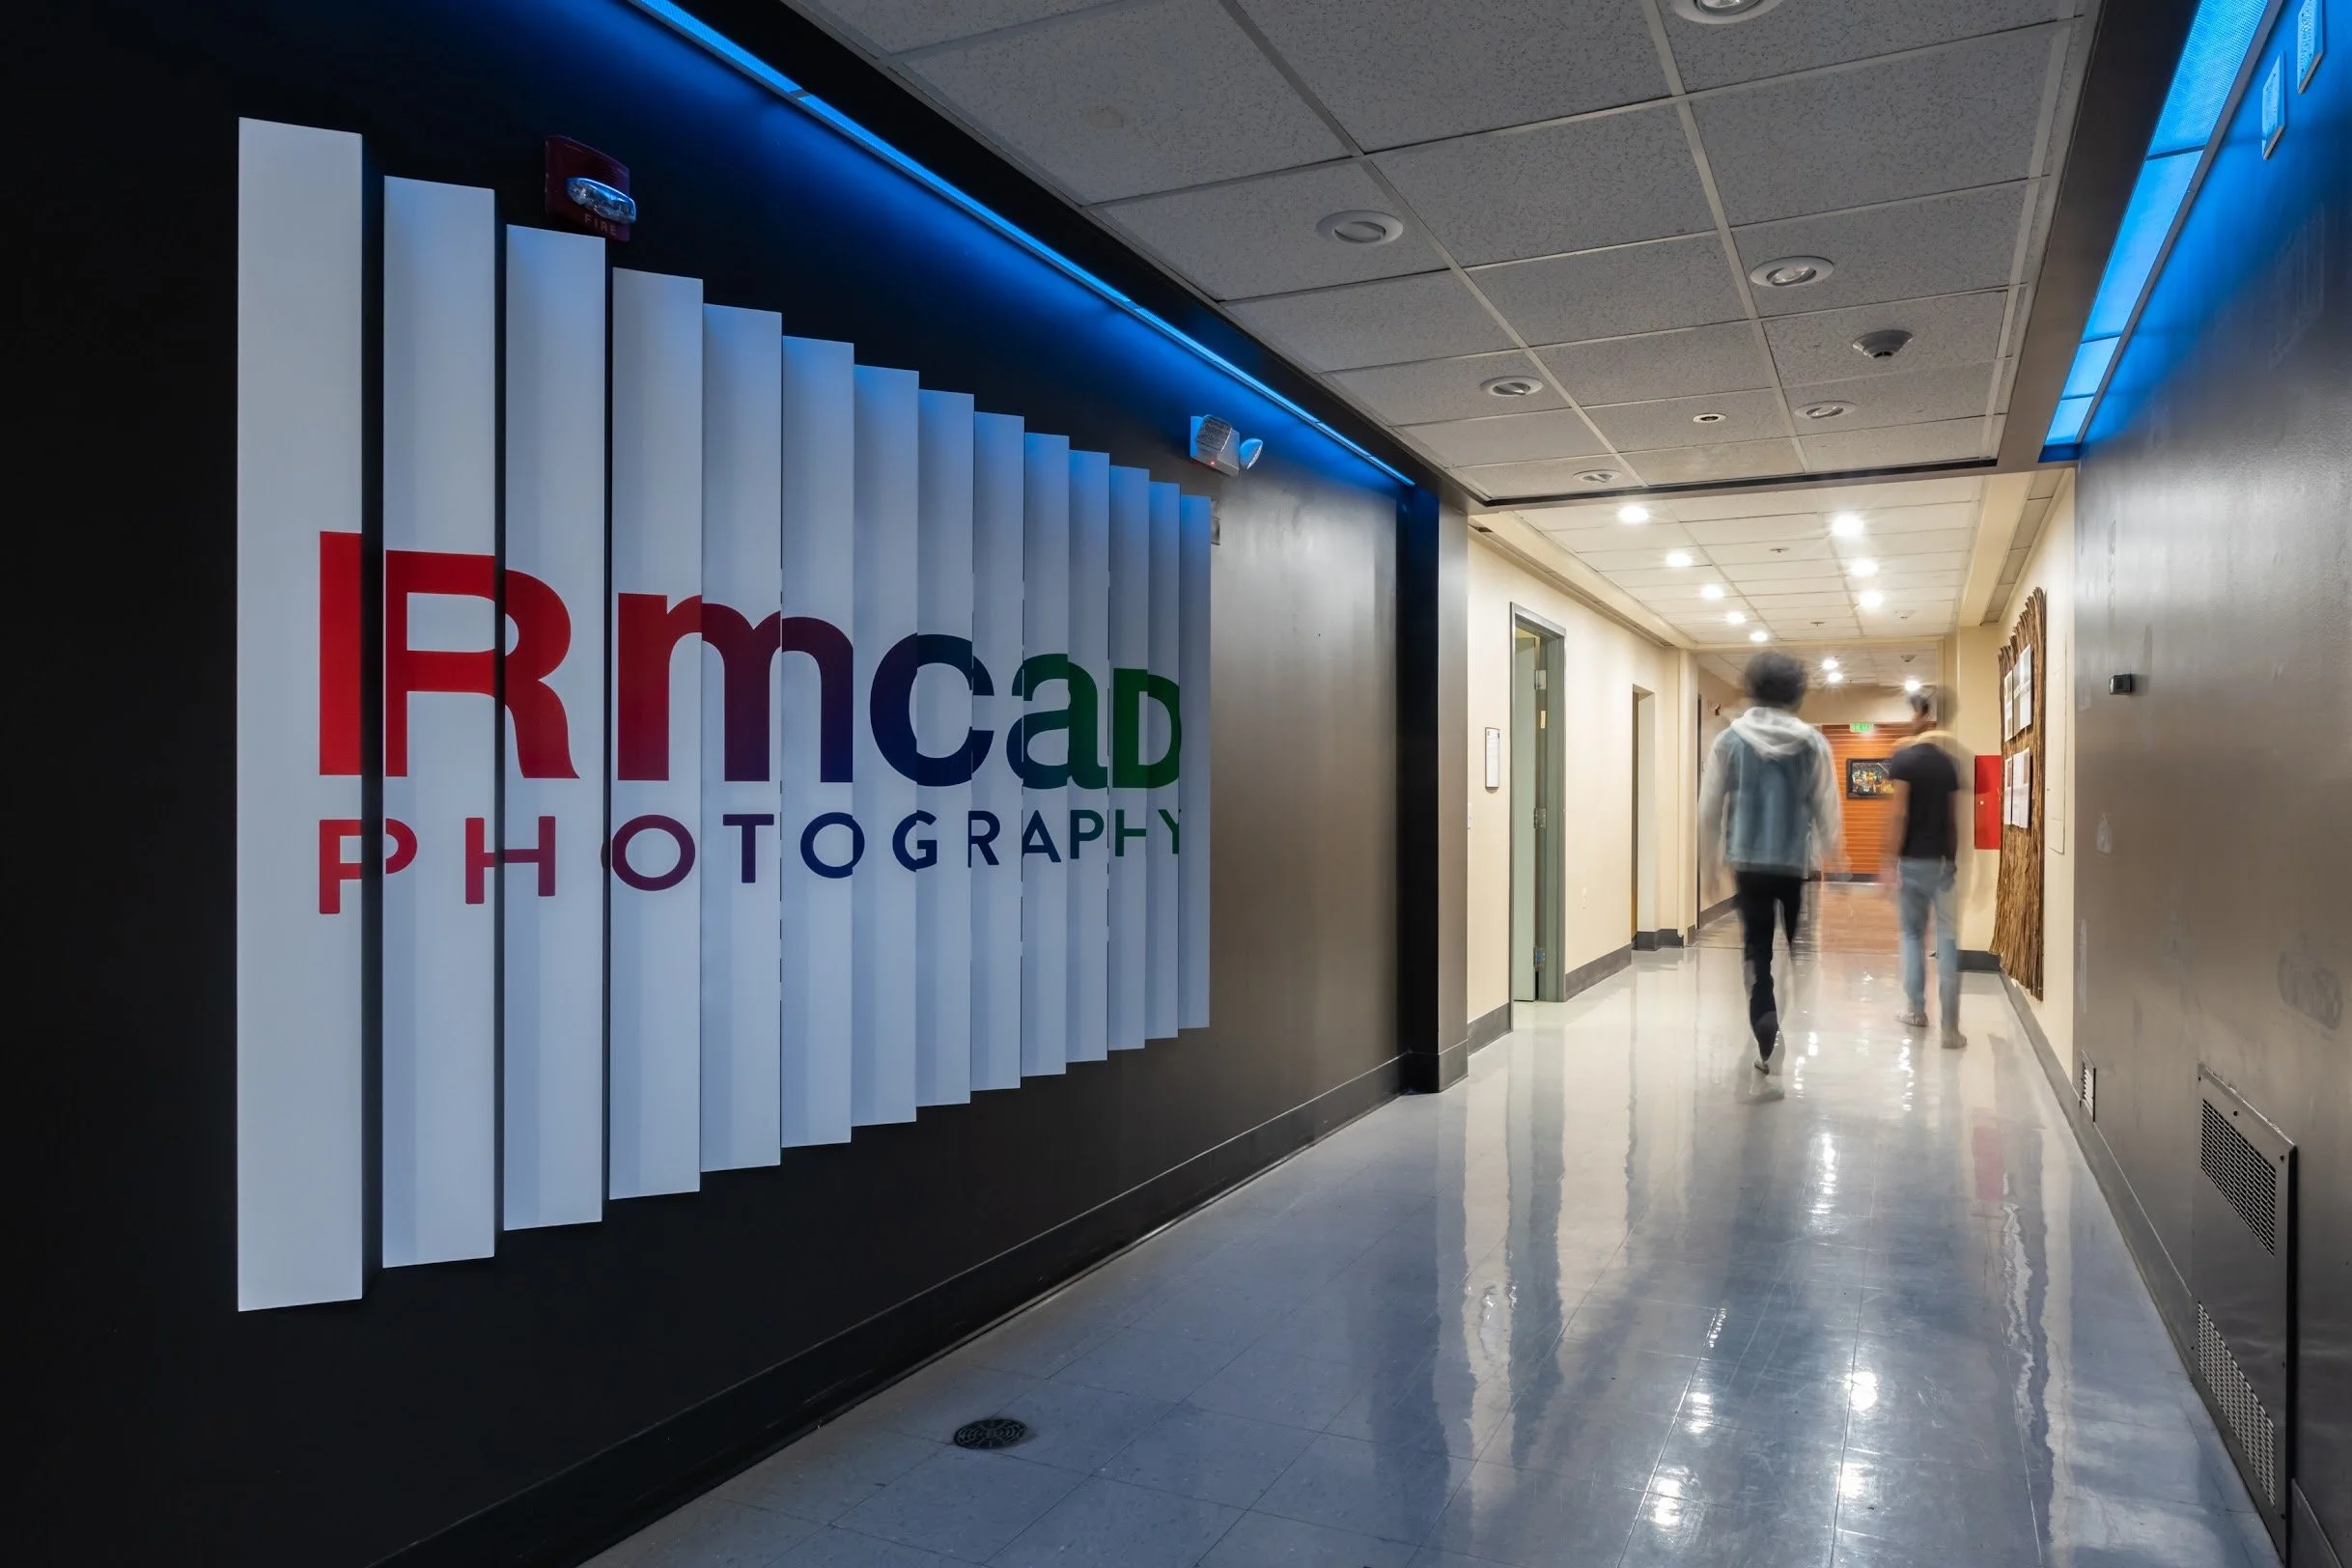
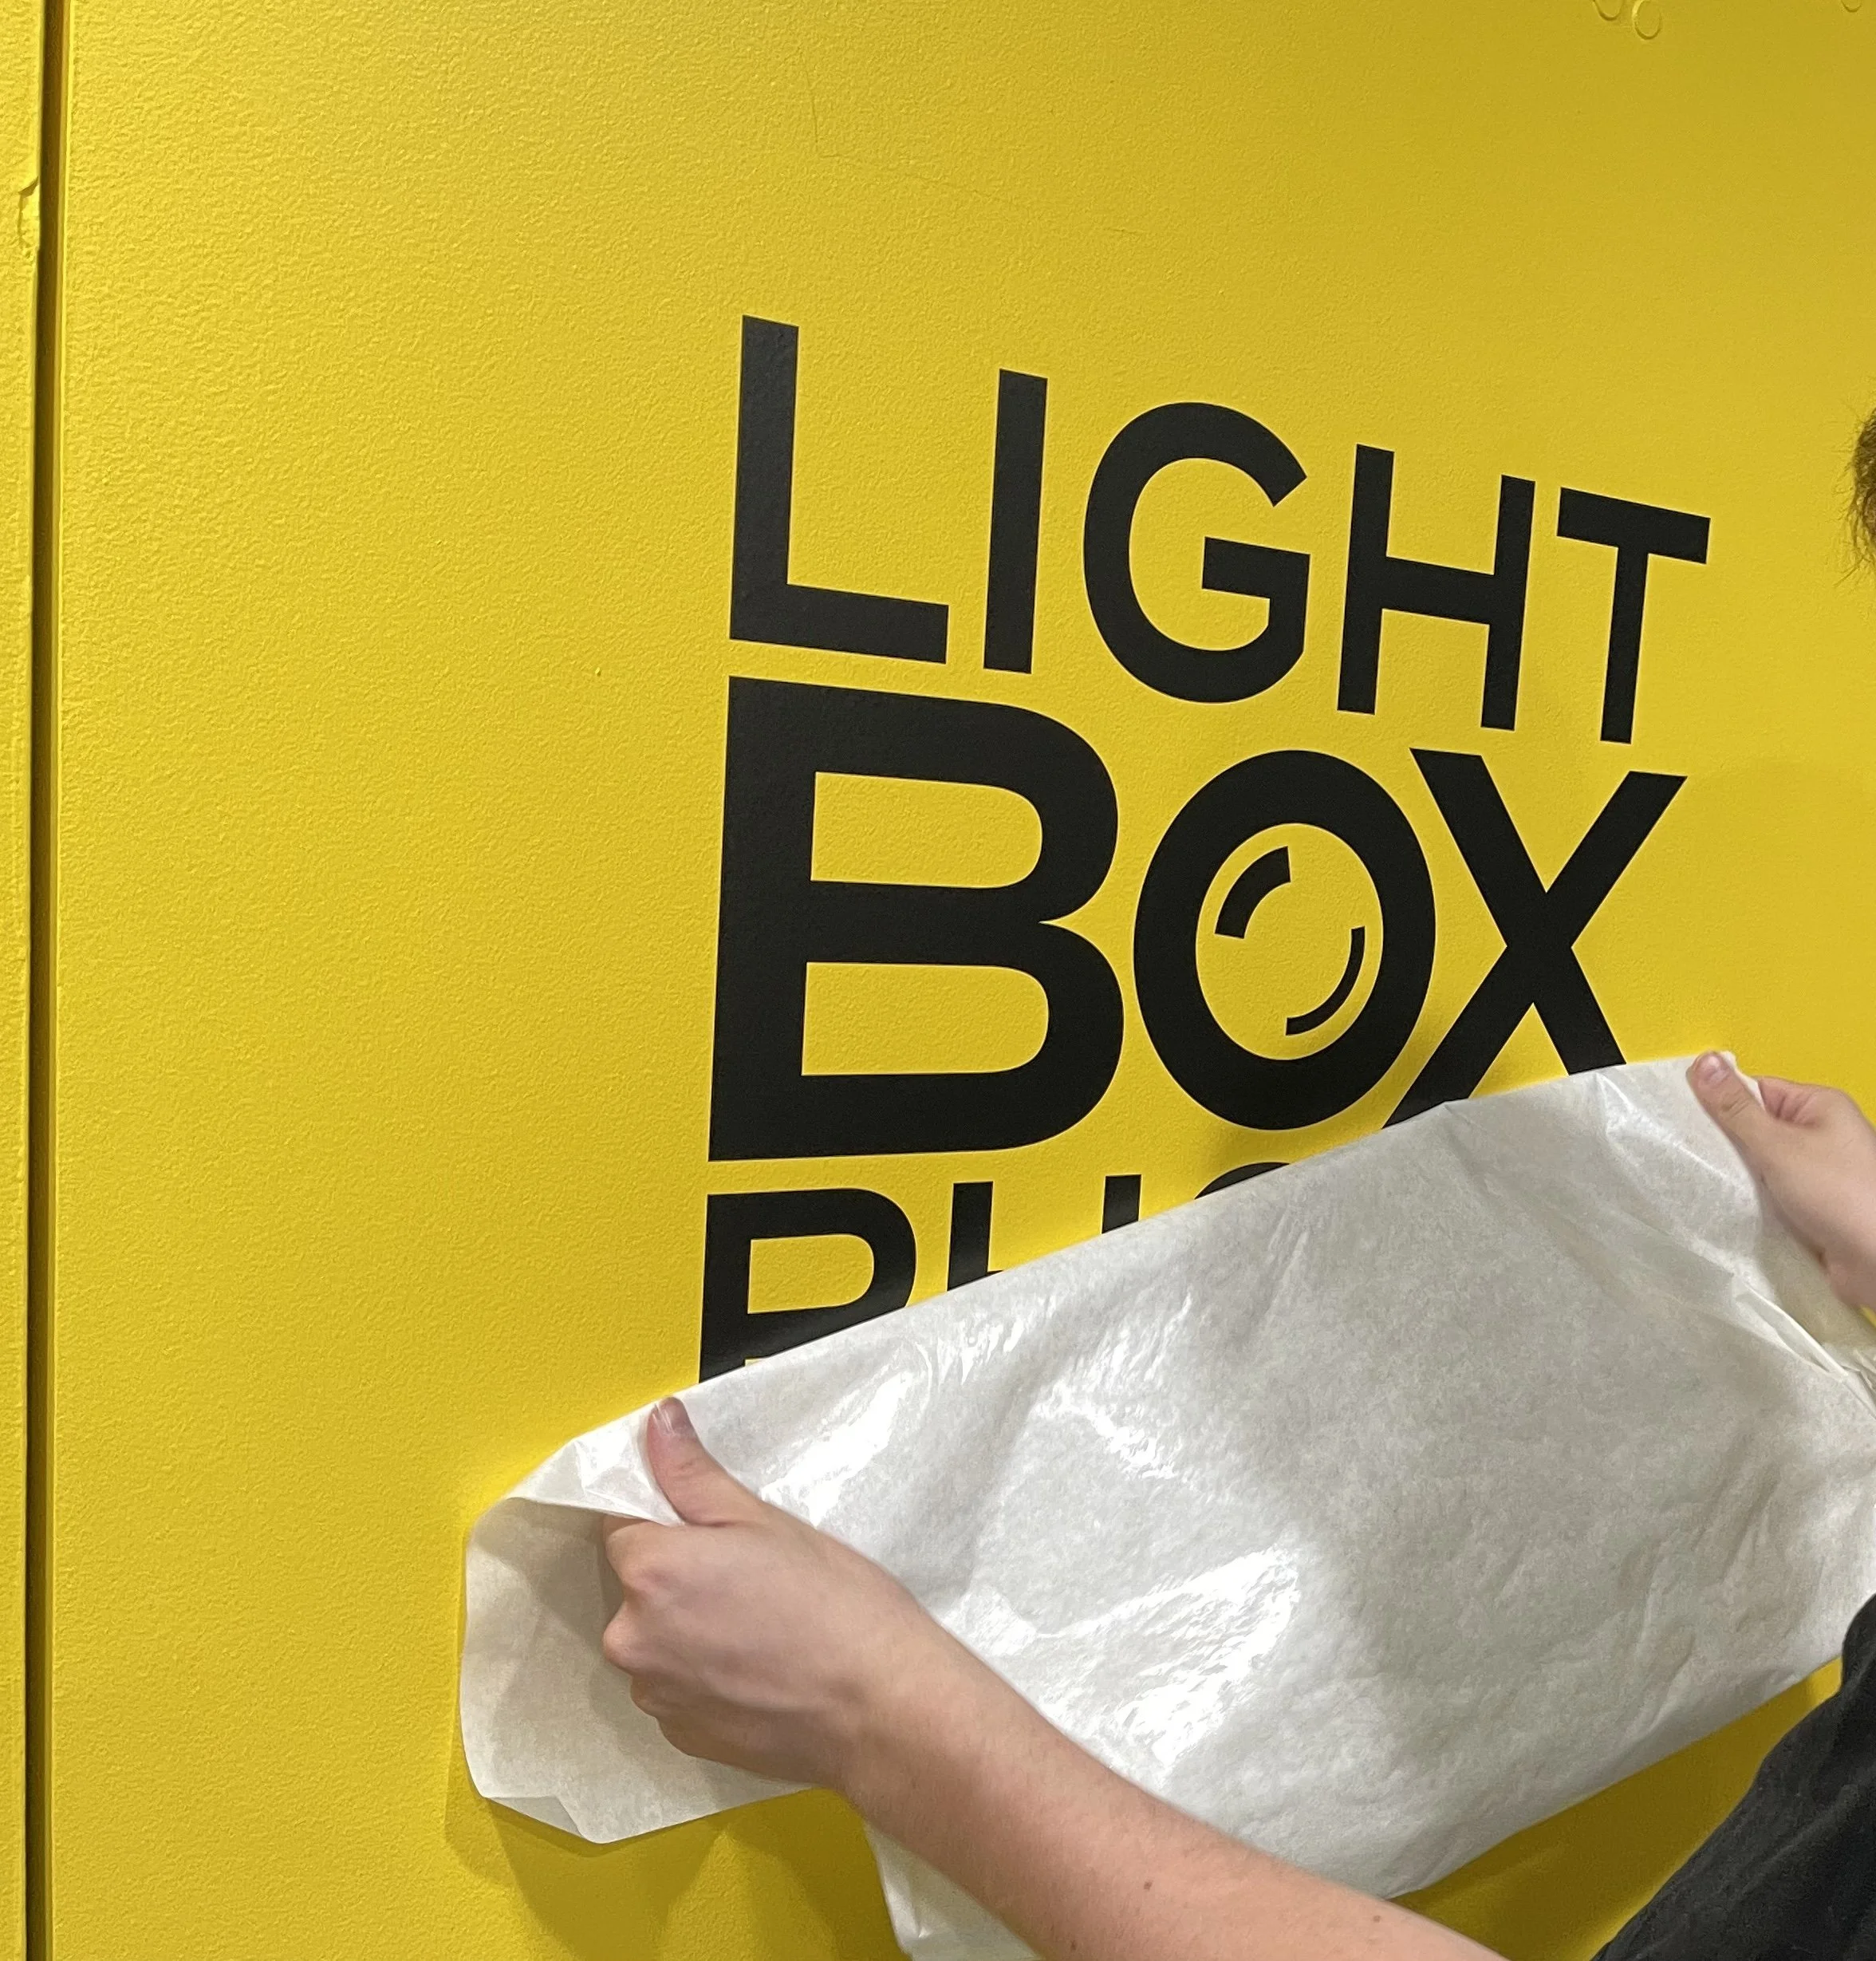
Installation involved painting the space using the color scheme our team developed, screen printing a camera pattern on the wall, building and mounting a large scale lenticular panel, producing vinyl, decals, and introducing dynamic lighting.
Before Installation
Testing
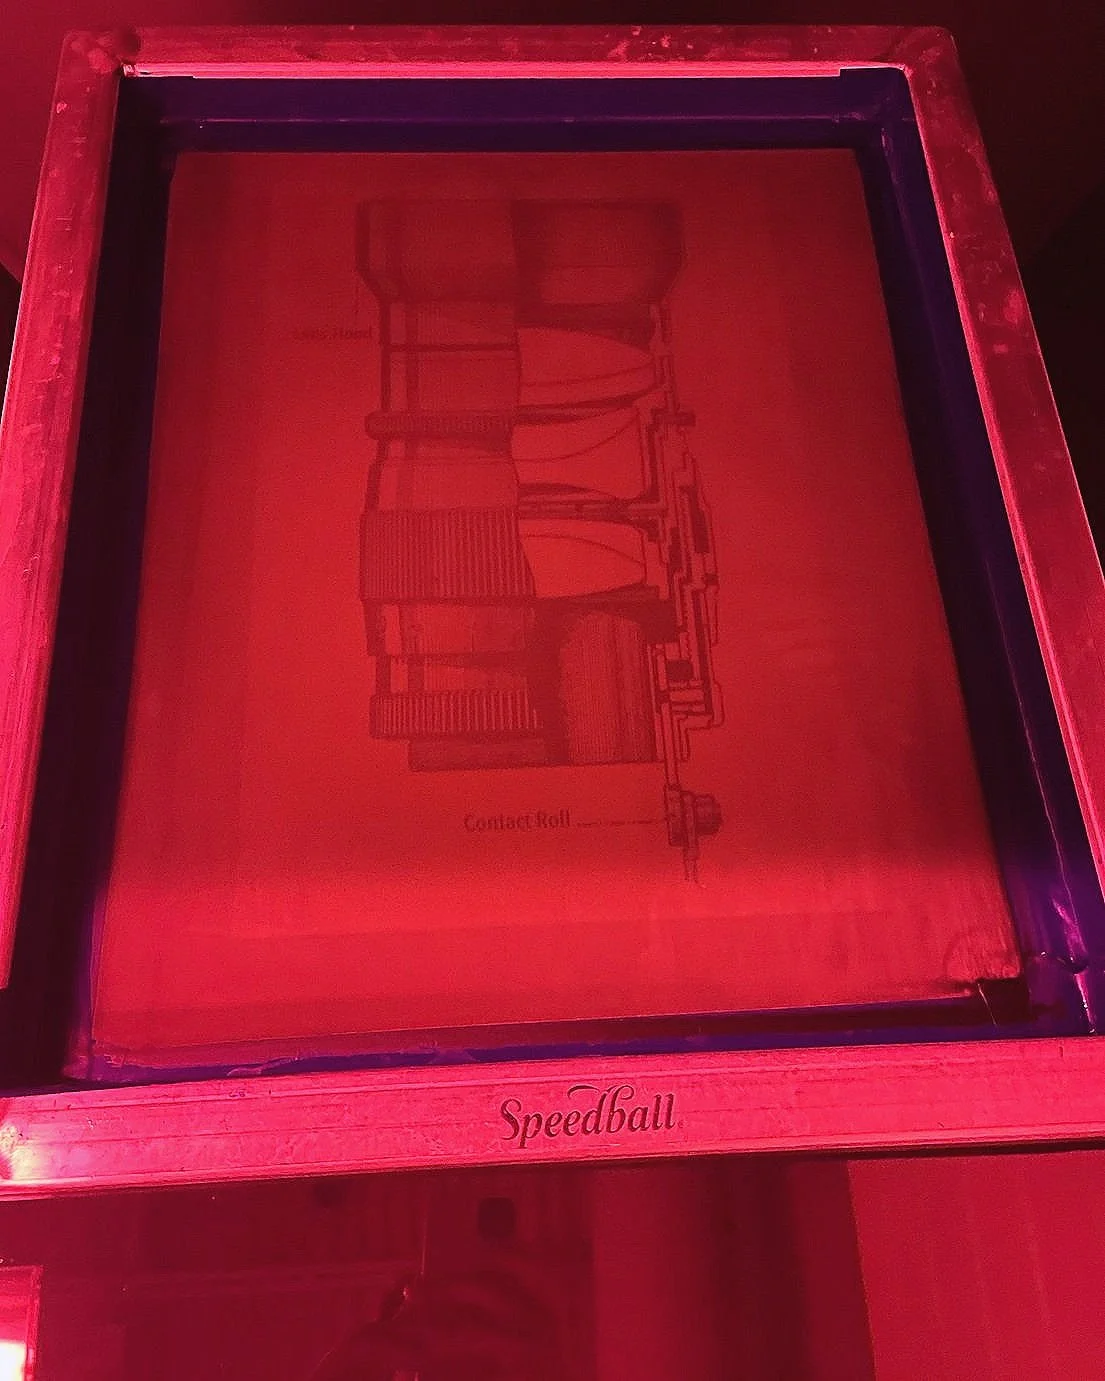
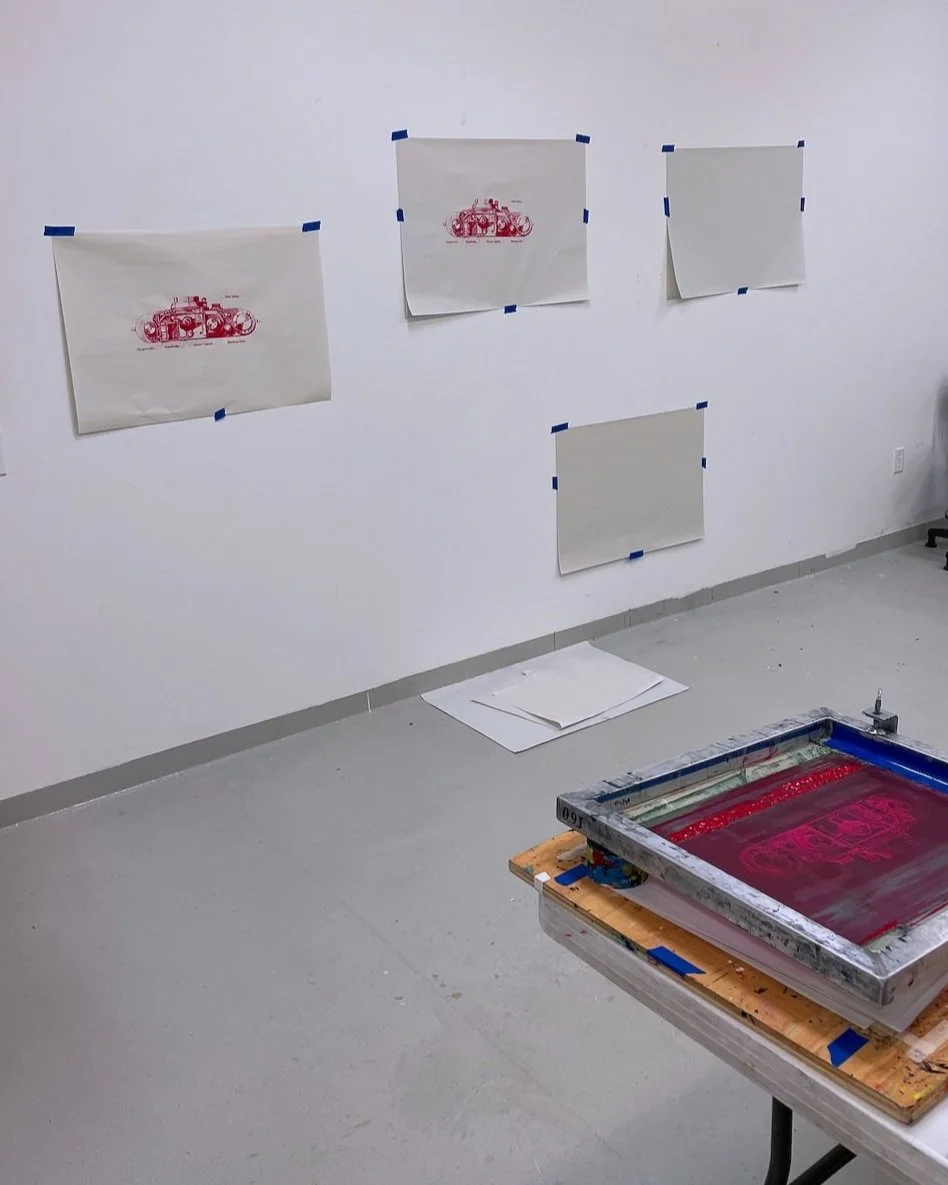
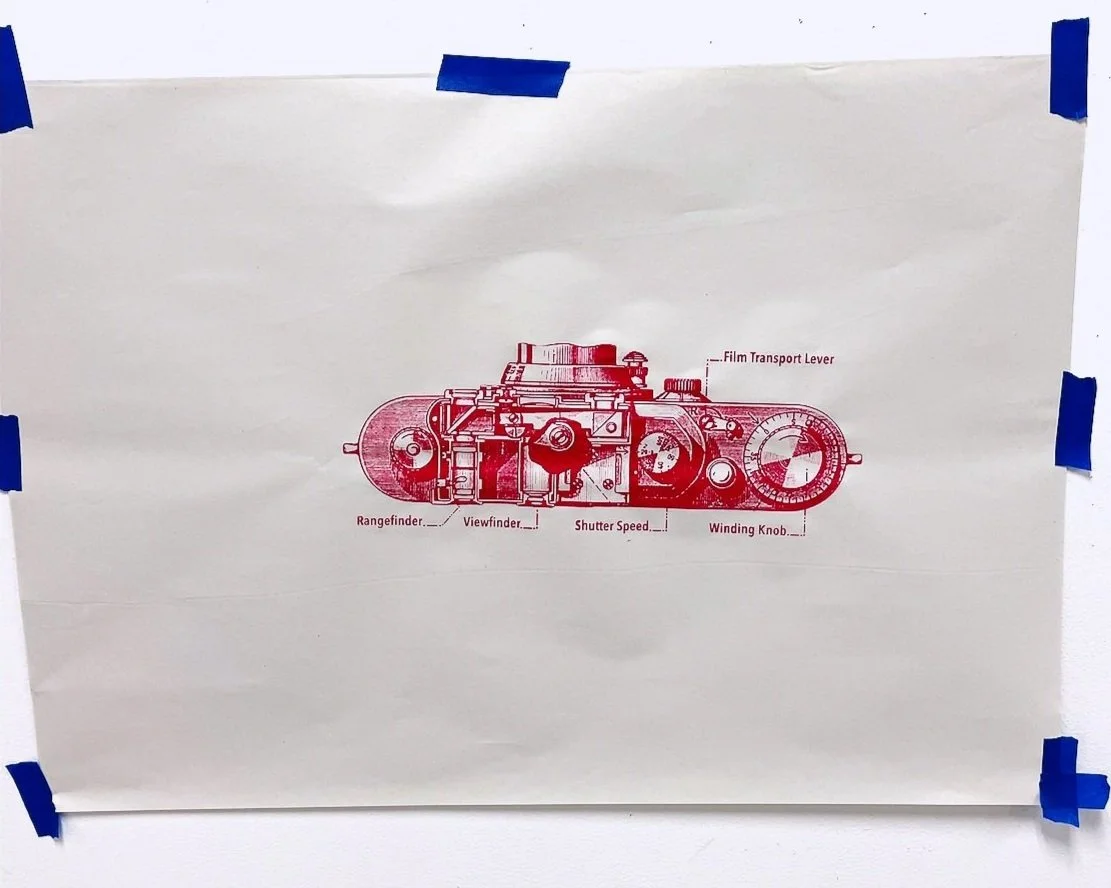
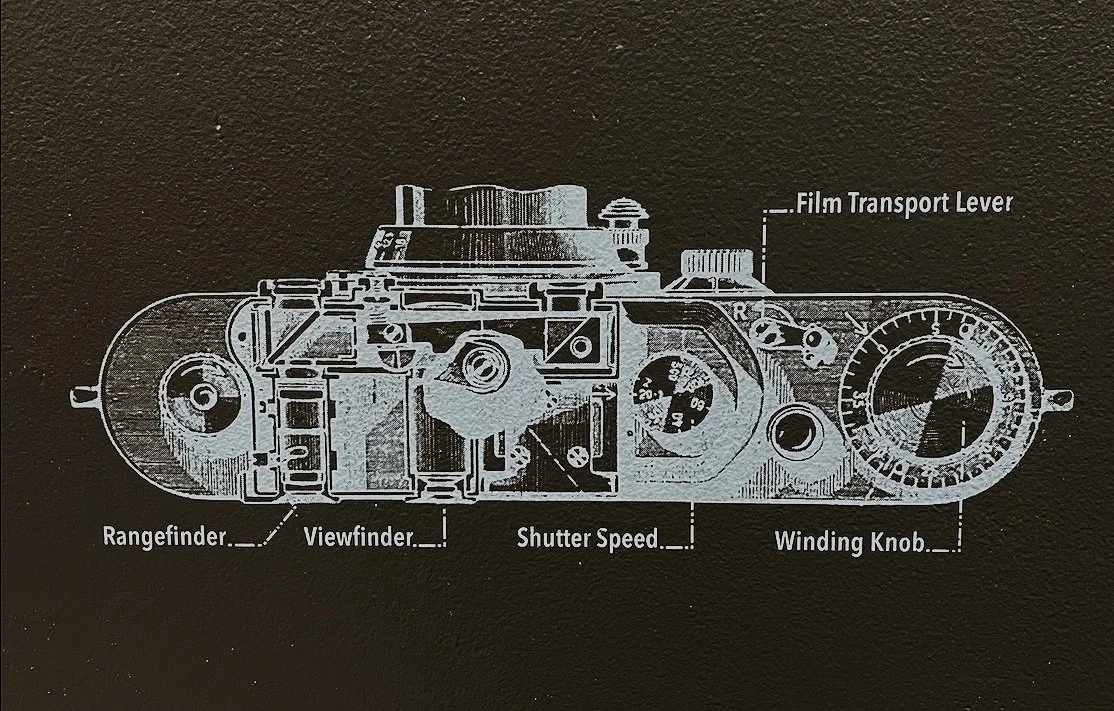
I proposed using my knowledge in screen printing to apply technical camera graphics onto the north wall. Since this would be my first attempt at screen printing wall graphics, I began rigorous testing of how the designs would react to the texture of the wall. The results indicated screen printing would be the ideal method of application, producing results that were far superior to vinyl wall graphics. Screen printing allowed the use of intricate designs and gave our team liberty for the placement of the individual graphics.

